FREE Newborn Photography Wrapping Tutorial
The Evolution Wrap
A step-by-step walk through of the StandInBaby™ signature newborn photography wrapping technique
“The Evolution Wrap“.
Create 12 amazing looks from 1 base wrap.
Achieve more images with less chance of unsettling the baby.
Stage One - The Evolution Base Wrap
~ You will need a stretchy wrap approximately 18″ x 60″ ~
Step 1
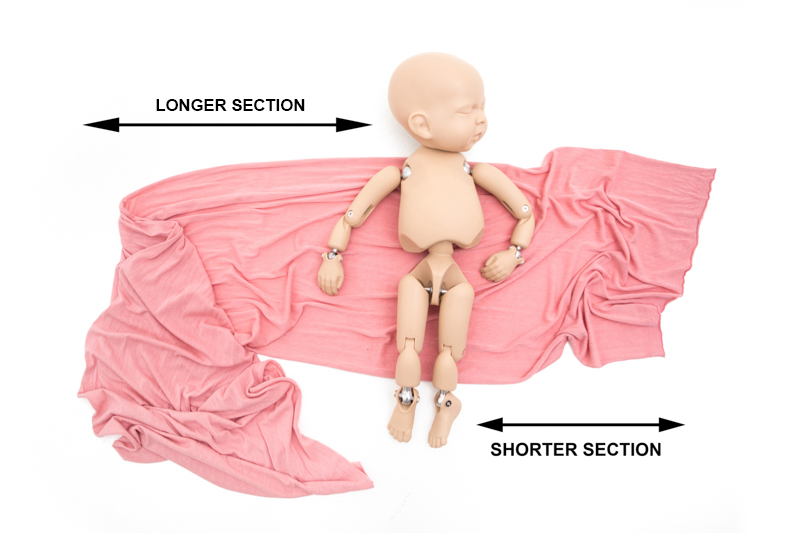
Place the baby in the wrap, ensuring that you have enough length on the shorter side to bring the wrap over the baby.
Step 2
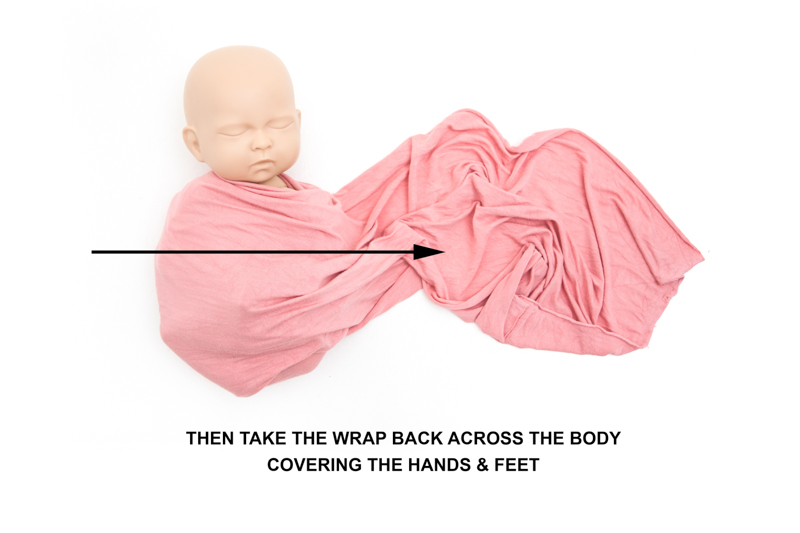
Bring the baby's hands up to it's chest, then pull the shorter section of the wrap over the baby's body and tuck firmly underneath
Step 3
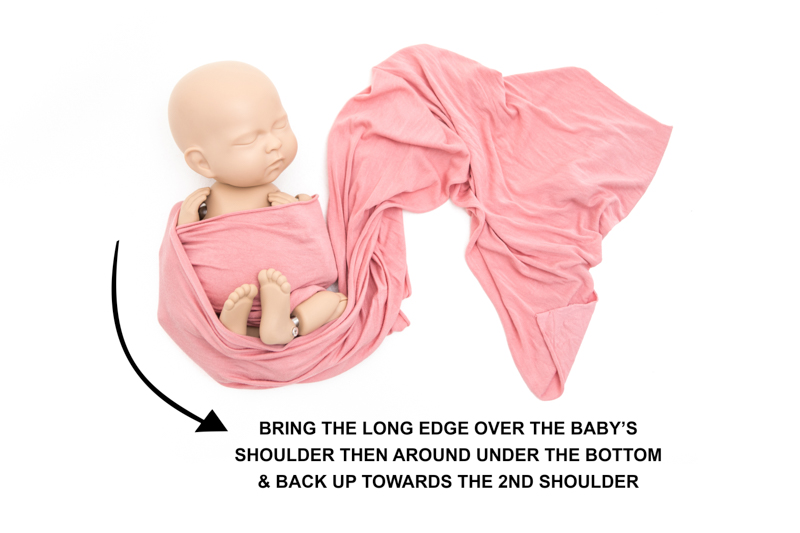
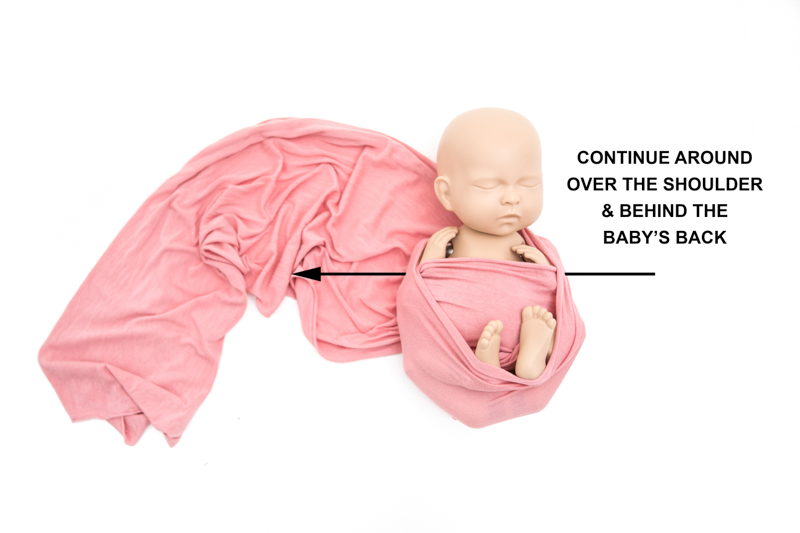
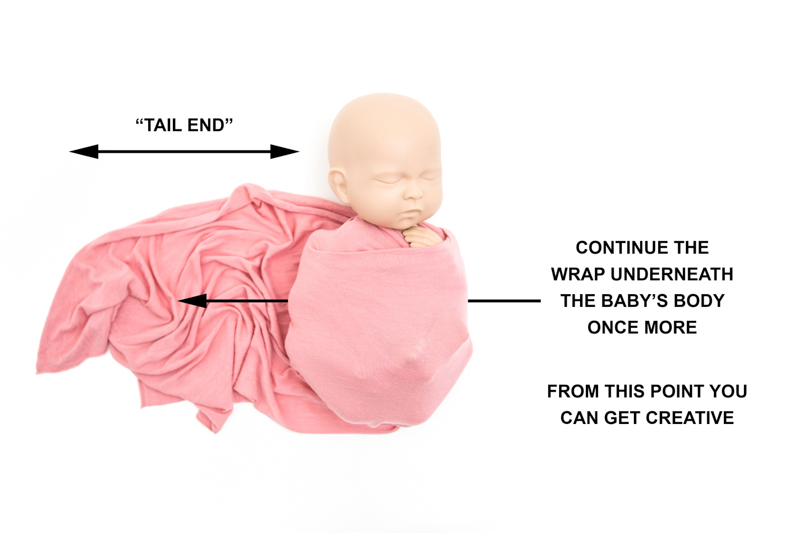
Tuck the baby's legs up to it's chest (in a way that is comfortable to the baby) then bring the long section of the wrap over the baby's shoulder, then around under the baby's bottom (supporting the legs) and back up toward the second shoulder.
Soft silicone doll

Foam filled doll

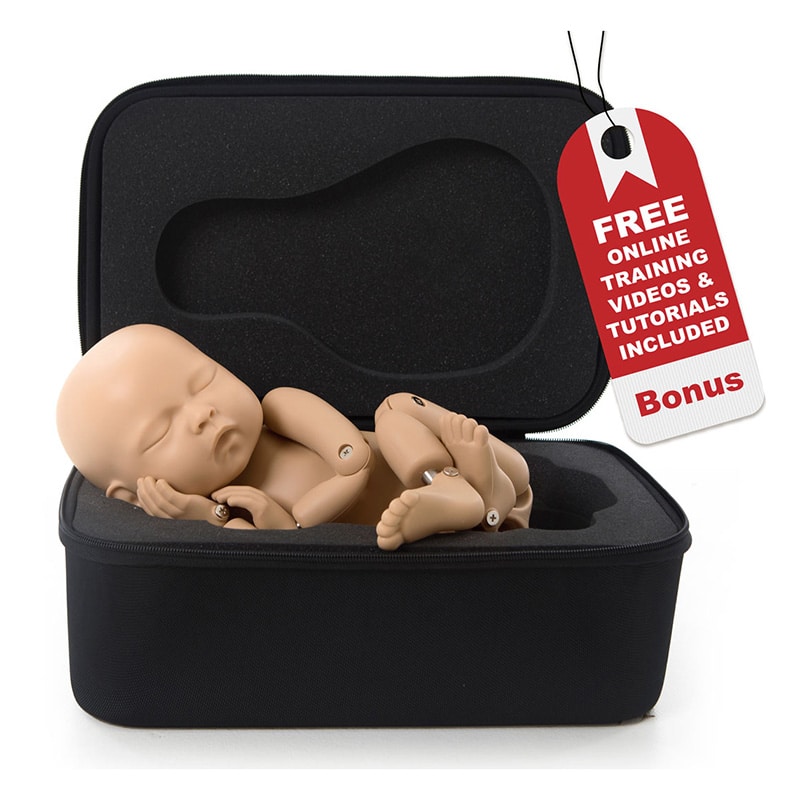
The StandInBaby® Mannequin
We asked leading health care experts to review and compare the StandInBaby® mannequin with soft silicone and foam filled dolls
Stage Two - The Evolution Looks
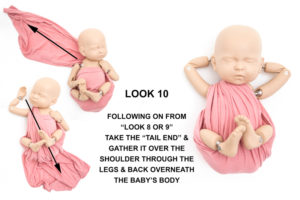
Look 10
Following on from "Look 8 or 9" take the "tail end" and gather it over the shoulder of the baby and through the legs, finish by tucking the wrap back underneath the baby's body.
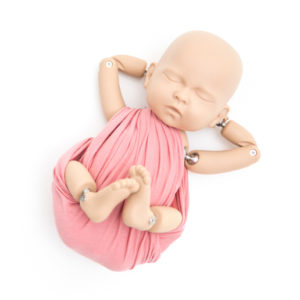
Look 10 Examples
These styles will easily adapt to many different props. Add beanies and tiebacks to complete the look. It's time to get creative.
Look 12
Following on from "Look 11" Gather the wrap underneath the baby's arms and pull through the legs in the same way you did in "Look 10"
Create your own Newborn Wrapping techniques with StandInBaby™
IMAGERY SUPPLIED BY JESSICA ARELLIN PHOTOGRAPHY

