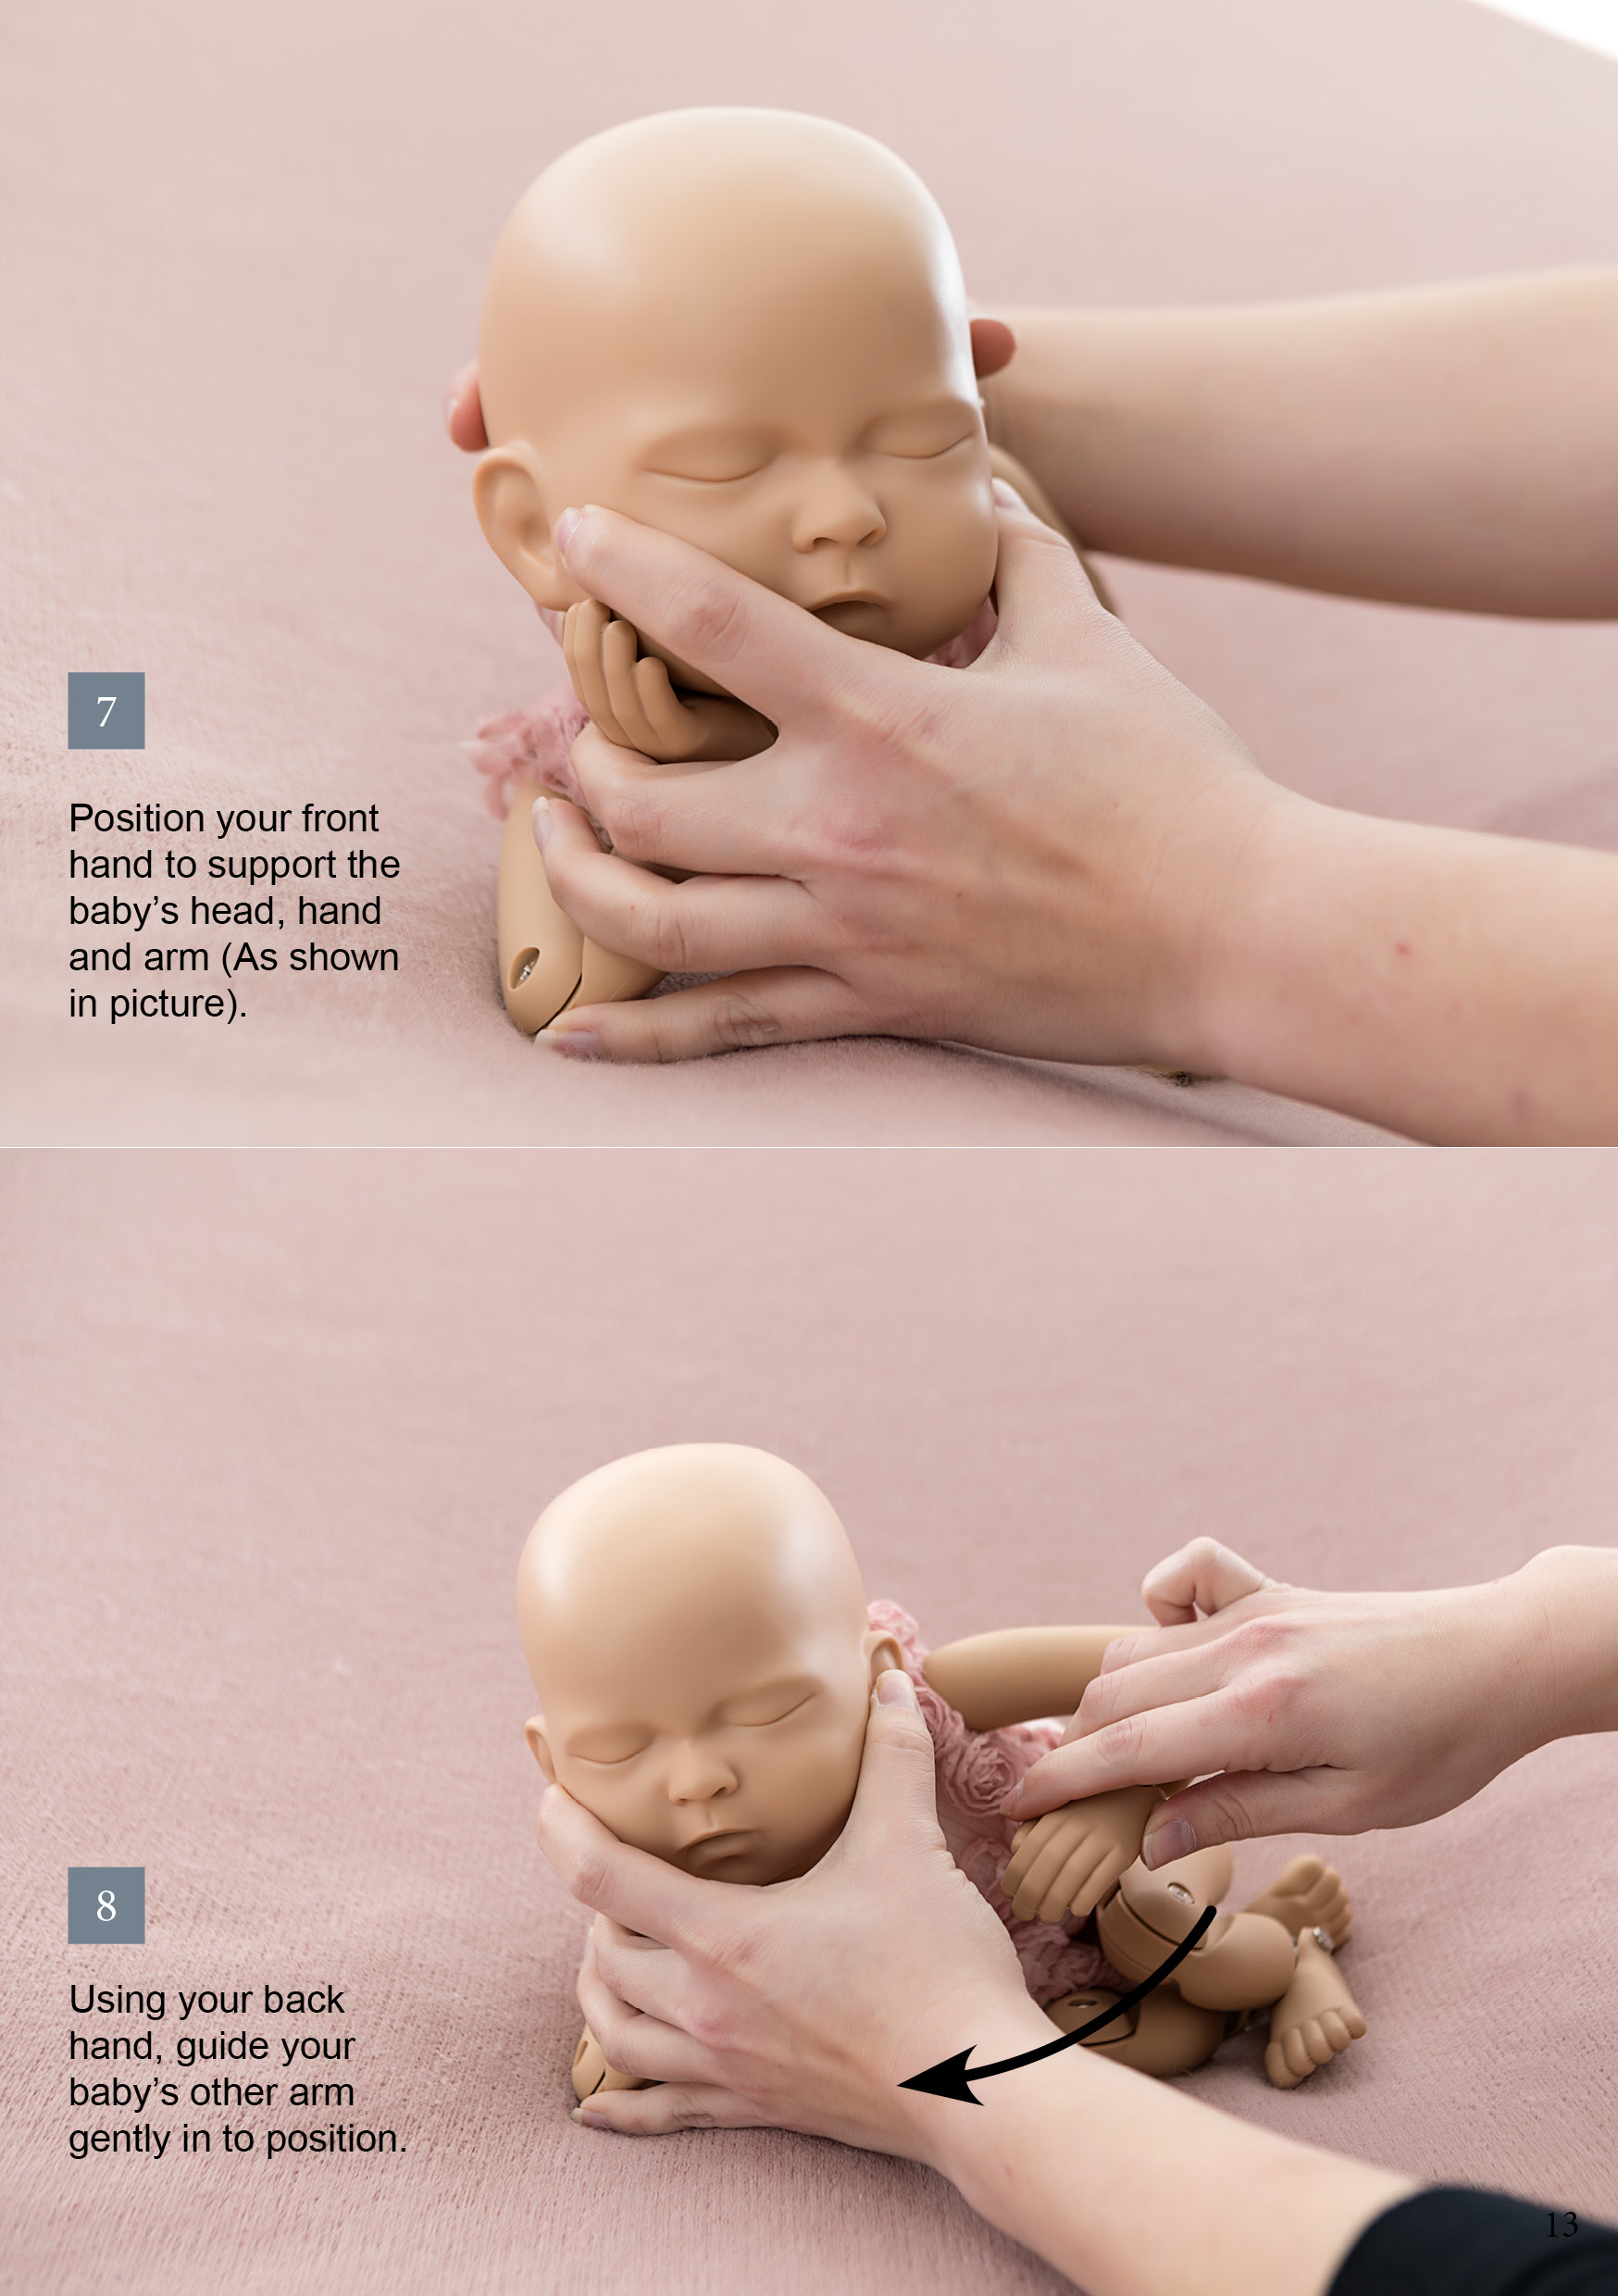
This post covers combining 2 images in Photoshop demonstrating with the "Froggy" pose.
STEP 1. File -> Scripts -> Load Files into Stack

STEP 2. Click Browse

STEP 3. Select the additional image/s you want to combine.

STEP 4. Click “Add Open Files” and select “Attempt to Automatically Align Source Images”.

STEP 5. Photoshop has now created a new “Untitled” document with both images accessible as separate layers. Selecting one layer at a time “Add a layer mask”.

STEP 6. Select the Brush Tool (B) in your pallet menu or by pressing “B” on your keyboard.
STEP 7. Make sure your Opacity is at 100% and your brush is using solid black.
You may want to Zoom (Z) into the image prior to selecting the brush tool.

STEP 8. Using the Brush tool (B), carefully paint over the section of the image you want to remove. You will notice the painted area of the mask is now blocked out from the selected image.

STEP 9. I also used the Brush Tool (B) and the Gradient Tool (G) to fill in some of the missing background (See video below.)
STEP 10. Select the Crop Tool (C) in the Tool Pallet to tidy up the image. 12
STEP 11. Save your new image.


This tutorial is from our Advanced Posing Guide
79 pages of step-by-step illustrated guides, your cheat sheet to achieving and editing advanced newborn poses!
Help others by sharing this tutorial with people in your community.
Did you know?
A good quality posing bag will help ensure your baby's safety by providing the right support in the right places?
Our Posing Pillows are made from a stretchy, durable, light weight material that perfectly contours to your baby's shape, ensuring a more comfortable supportive posing surface.


